
Best Lip & Cheek Retractor for Teeth Whitening (Buyer's Guide)
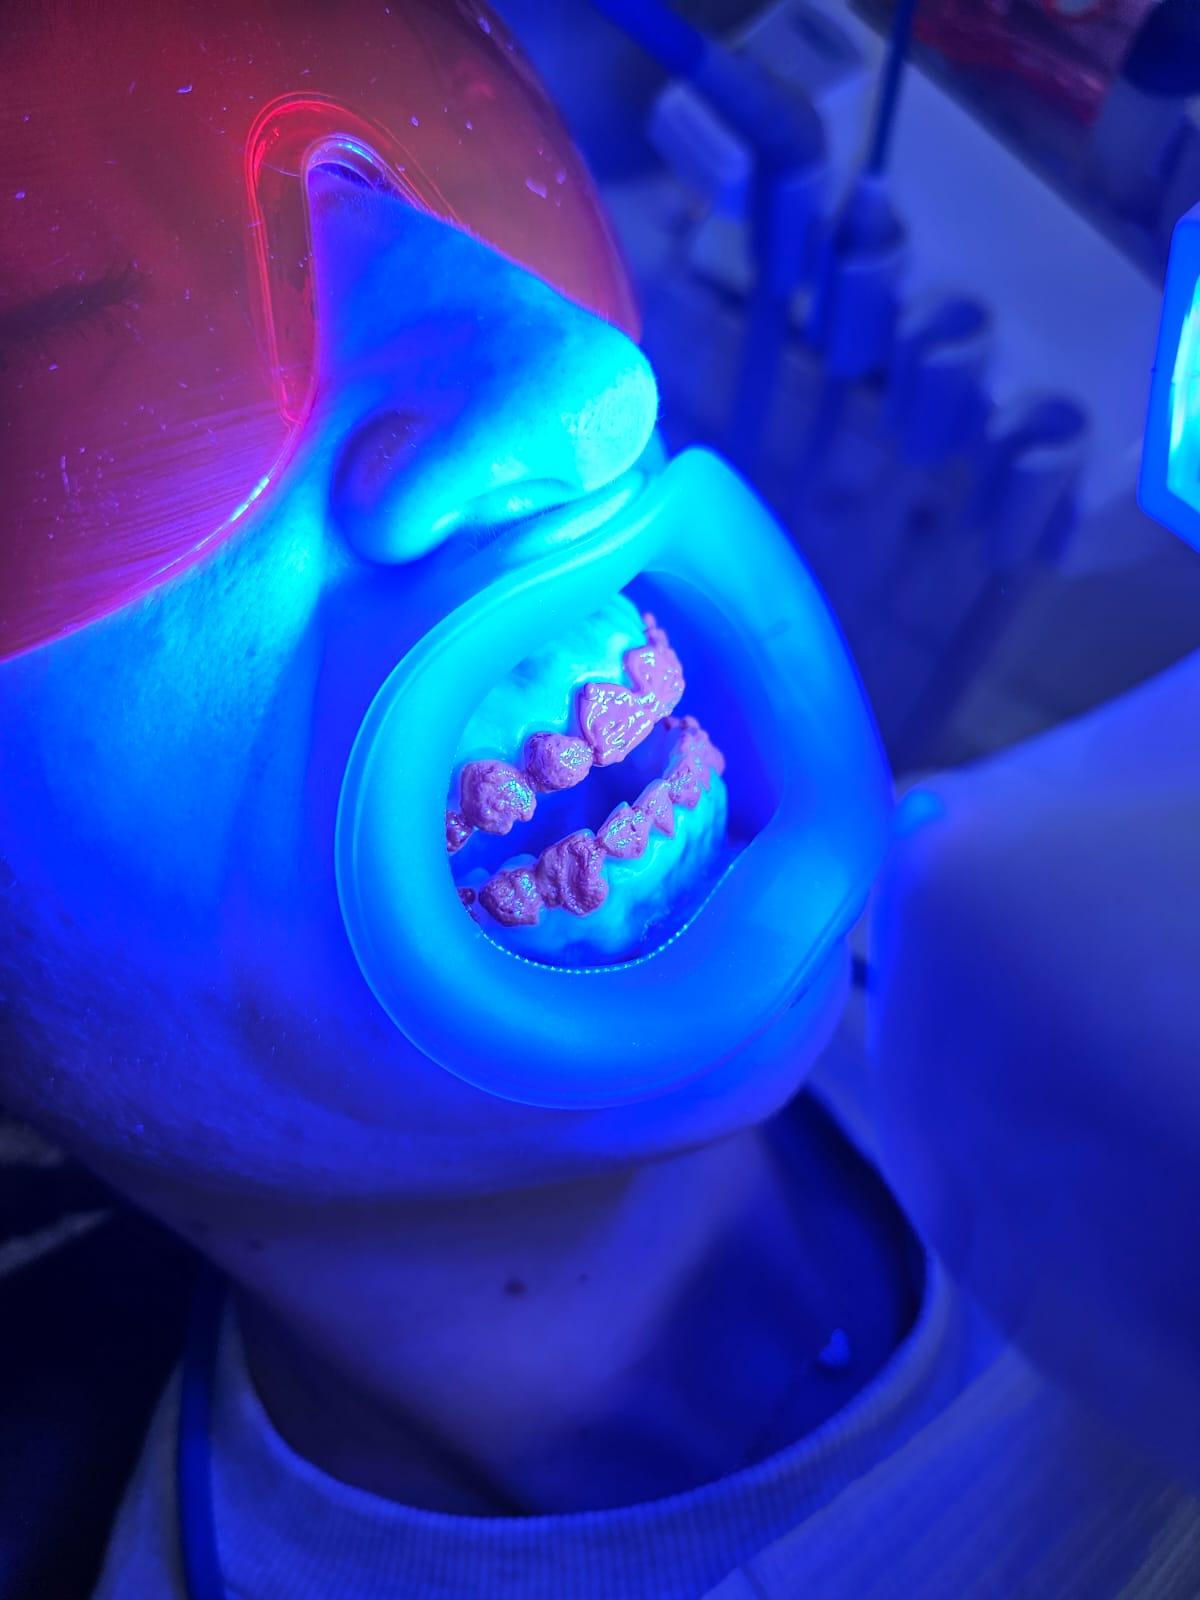
Teeth whitening is one of the most requested aesthetic treatments – and a good retractor makes it faster, cleaner and better documented. Here is what to look for, and why a reusable silicone retractor fits whitening especially well.
1 What a whitening retractor needs to do
2 Why silicone beats foam for whitening
Foam absorbs and can stick to moist mucosa. VisionButler's silicone is smooth and soft, wipes clean easily, and lets the patient partially close their mouth to rest between gel applications. Less friction, less irritation, a happier patient through a longer aesthetic appointment.
3 The photo advantage
VisionButler's matte black surface works as a built-in photo contraster – ideal for the before-and-after images that actually sell a whitening result. We cover consistent documentation in our dental photography article.
4 Cost across a whitening caseload
Whitening is a high-volume procedure. A reusable retractor designed for repeated reprocessing pays back quickly versus disposables – see the full math in our cost comparison.
5 Which size
M for most patients, S for narrower mouths, L for maximum access. For a 10-second chairside method, read our size guide.
Conclusion
For whitening you want a retractor that keeps soft tissue clear of the gel, stays comfortable and doubles as a photo contraster. VisionButler does all three – and because it is reusable, it pays for itself across your whitening caseload. Order VisionButler and take your aesthetic cases to the next level.