
Cheek & Lip Retraction in Dentistry: Techniques, Tools & Best Practices
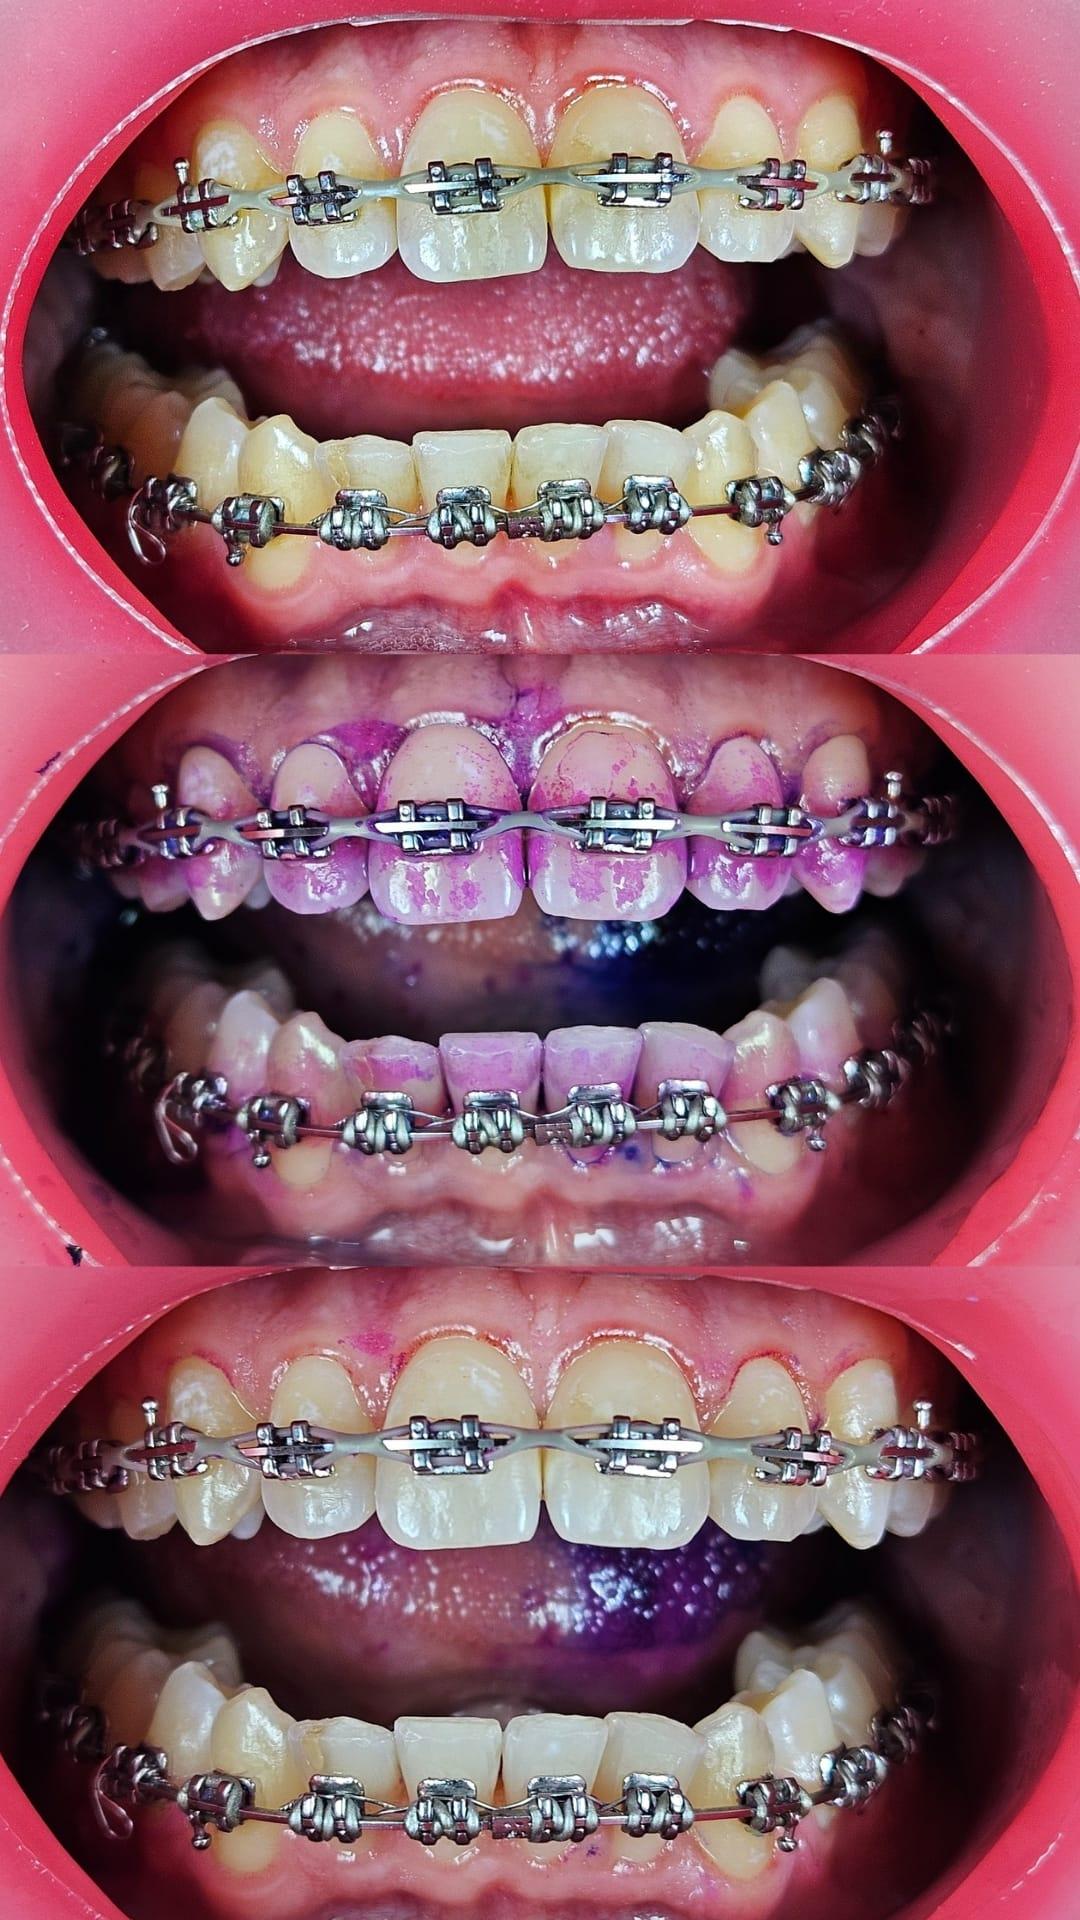
Cheek and lip retraction is an understated but fundamental skill. It decides how well you see, how dry your working field is, how you protect soft tissue and how comfortable the patient feels. Here is an overview of techniques, tools and best practices.
1 Why retraction matters
2 Types of retraction
The material comparison is in our <a href="/articles/foam-vs-silicone-retractors" class="text-primary underline">foam vs. silicone</a> article.
3 Technique fundamentals
4 Soft-tissue safety
A retractor should protect, not irritate. Choose an atraumatic material with smooth edges that does not press or scratch. The story of a retractor protecting a patient's lip came up in our webinar with the authors.
5 Retraction and photography
A clean retraction is the first condition of a good image; the retractor's matte black surface then serves as a contraster. Our intraoral photography guide covers the full workflow.
Conclusion
Excellent retraction rests on the right tool and a calm technique: a gentle seat, the correct size, care for the soft tissue. A soft silicone retractor that also doubles as a contraster makes the job easier – more in our complete retractor guide. Order VisionButler.